Creating custom notebooks by hand is a fulfilling and artistic endeavor. Whether you’re a seasoned crafter or a beginner looking to explore your creative side, hand sewing notebooks allows you to infuse your personal style into every detail. From selecting materials to stitching the pages together, here’s a comprehensive guide to help you embark on this delightful journey.
Assemble Your Supplies
Before diving into the process, it’s essential to assemble all the necessary supplies. From paper for the pages to cover material and sewing tools, gathering your materials beforehand ensures a smooth and efficient crafting experience.
Choose Your Paper
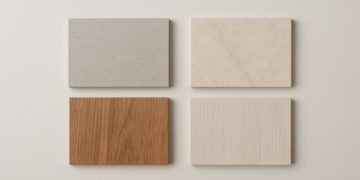
Selecting the right paper is crucial for the functionality and appearance of your custom notebooks. Decide on the type of paper you want for your notebook’s pages—options include plain, lined, grid, or specialty papers like watercolor or craft paper. Consider factors such as thickness, texture, and color to ensure it aligns with your vision.
Design Your Cover
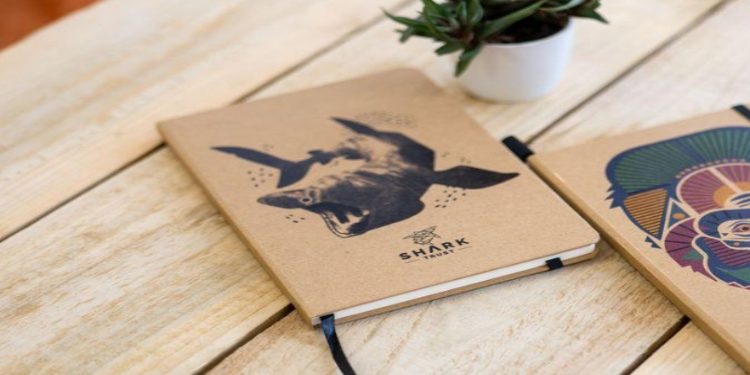
The cover sets the tone for your custom notebooks, so get creative with their design. Choose a fabric or cardstock that reflects your style and personality. You can opt for bold patterns, elegant textures, or simple solids, depending on your preference. Additionally, consider adding decorative elements like stamps, stickers, or hand-drawn designs to make the cover uniquely yours.
Measure and Cut
Measure and cut your chosen paper and cover material to the desired size for your custom notebooks. Standard sizes like A5 or pocket-sized are popular choices, but feel free to customize according to your preference. Use a sharp pair of scissors or a paper cutter for clean, precise cuts, ensuring that all edges are straight and uniform.
Prepare the Pages
Stack the paper neatly to form the pages of your notebook. Ensure that they are aligned properly and free from wrinkles or creases before proceeding to the next step. You can use a bone folder or ruler to gently flatten the pages if needed, ensuring a smooth surface for writing or drawing.
Mark Stitching Points
Using a ruler and pencil, mark evenly spaced points along the spine of your custom notebooks cover. These points will serve as guides for your stitching later on, ensuring that the pages are securely bound together. Take care to space the marks evenly and align them accurately for a professional-looking finish.
Pierce Stitching Holes
With a needle or awl, pierce holes through the marked points on the cover. Take care to pierce through all layers of the cover material to ensure even stitching. You can use a thimble to protect your fingers while piercing the holes, especially if you’re working with thick or tough materials.
Thread the Needle
Thread a needle with a suitable length of thread. You can use embroidery floss, waxed thread, or any other sturdy thread that complements your design. Double up the thread for added strength and durability, especially if you anticipate heavy use of the custom notebooks. Knot the end of the thread securely to prevent it from slipping through the holes while stitching.
Begin Stitching
Begin stitching from one end of the spine, leaving a tail for securing later. Employ a simple binding stitch like the saddle or long stitch to attach the pages to the cover. Insert the needle through the first hole from the inside, leaving a loop outside. Then, pull the thread tight through the next hole from the outside to bind the pages. Continue stitching until reaching the end of the spine, ensuring tight, evenly spaced stitches throughout.
Secure the Stitching
Once you’ve stitched all the way across the spine, tie off the ends of the thread securely to prevent unraveling. You can use a square knot or double knot to secure the ends, ensuring that they are tight and secure. Trim any excess thread with scissors, taking care not to cut too close to the knot. If desired, you can apply a small drop of clear nail polish or fabric glue to the knots for added security.
Add Embellishments
Now’s the time to add any embellishments or decorations to your custom notebooks cover, including custom sticky notes. Get creative with ribbons, buttons, beads, fabric scraps, or personalized sticky notes to enhance its visual appeal. You can use fabric glue or a hot glue gun to attach the embellishments securely to the cover, arranging them in a pleasing design or pattern. Take care not to overcrowd the cover, allowing each embellishment, including the custom sticky notes, to stand out and complement the overall aesthetic.
Trim Excess
Once the notebook is flattened, trim any uneven edges or excess material from the cover for a polished look. Use sharp scissors and take your time to achieve clean cuts, ensuring that all edges are straight and uniform. Pay attention to details such as corners and edges, ensuring that they are neatly trimmed for a professional finish.
Enjoy Your Creation
Congratulations! Your hand-sewn custom notebooks are now ready to use or gift to someone special. Enjoy the satisfaction of creating something beautiful and functional with your own hands, knowing that it is a reflection of your creativity and craftsmanship. Whether you use it as a journal, sketchbook, planner, or gift, your custom notebook is sure to be cherished for its unique charm and handmade quality.
Thoughtful Point
Hand sewing custom notebooks is a delightful way to express your creativity and craftmanship. With these simple steps and a bit of imagination, you can create unique notebooks that are as beautiful as they are practical. So gather your materials, unleash your creativity, and start stitching your way to personalized perfection!


